Installing with OpenShift templates
Warning OpenShift Templates support has been removed since Microcks 1.1.0 release. Whilst being convenient, teamplates are a burden to maintain and we now have more robusts, easy-to-use installation process using Helm Charts or Microcks Operator. Though we recommend swithing to these methods. OpenShift Templates can still be found under
1.0.0tag in the GitHub repository. We’ll keep this page here intentionally for a few months.
Instructions
The easiest way of installing Microcks for production use in most secured conditions is to do it on OpenShift. OpenShift in version 3.6 or greater is required. It is assumed that you have some kind of OpenShift cluster instance running and available. This instance can take several forms depending on your environment and needs:
- Full blown OpenShift cluster at your site, see how to Install OpenShift at your site,
- Red Hat Container Development Kit on your laptop, see how to Get Started with CDK,
- Lightweight Minishift on your laptop, see Minishift project page.
When running on OpenShift, take care that you did not have the
anyuidcapability enabled. This prevents Microcks from using OpenShift internal Identity Provider.anyuidaddon is enabled by default on Red Hat CDK. You may want to turn it off by executingoc adm policy remove-scc-from-group anyuid system:authenticatedas this is a bad practice.
Then you have to ensure that Microcks templates for OpenShift are added and available into your Cluster. Templates come in many flavours depending on your OpenShift version.
OpenShift 4.x
In OpenShift 4.x we reduced the number of flavours as HTTPS is now considered as mandatory. Also we no longer configure the OpenShift Identity Provider into the Keycloak instance when deploying it, thus you’ll do not need cluster-admin privileges anymore to install Microcks. The templates for OCP 4 all have the -ocp4 suffix.
Add the templates, by using these commands :
oc create -f https://raw.githubusercontent.com/microcks/microcks/1.0.0/install/openshift/openshift-ephemeral-full-template-https-ocp4.yml
oc create -f https://raw.githubusercontent.com/microcks/microcks/1.0.0/install/openshift/openshift-ephemeral-no-keycloak-template-https-ocp4.yml
oc create -f https://raw.githubusercontent.com/microcks/microcks/1.0.0/install/openshift/openshift-persistent-full-template-https-ocp4.yml
oc create -f https://raw.githubusercontent.com/microcks/microcks/1.0.0/install/openshift/openshift-persistent-no-keycloak-template-https-ocp4.yml
Once this is done can now create a new project and instanciate the template of your choice ; either using the OpenShift web console or the command line. You will need to fill up some parameters during creation such as:
- the hostname for routes serving Microcks and embedded Keycloak (typically
component_name-project-app_domain),
Typically, you’ll got this kind of commands for a local Minishift instance:
$ oc new-project microcks --display-name="Microcks"
$ oc new-app --template=microcks-persistent \
   --param=APP_ROUTE_HOSTNAME=microcks-microcks.192.168.99.100.nip.io \
   --param=KEYCLOAK_ROUTE_HOSTNAME=keycloak-microcks.192.168.99.100.nip.io
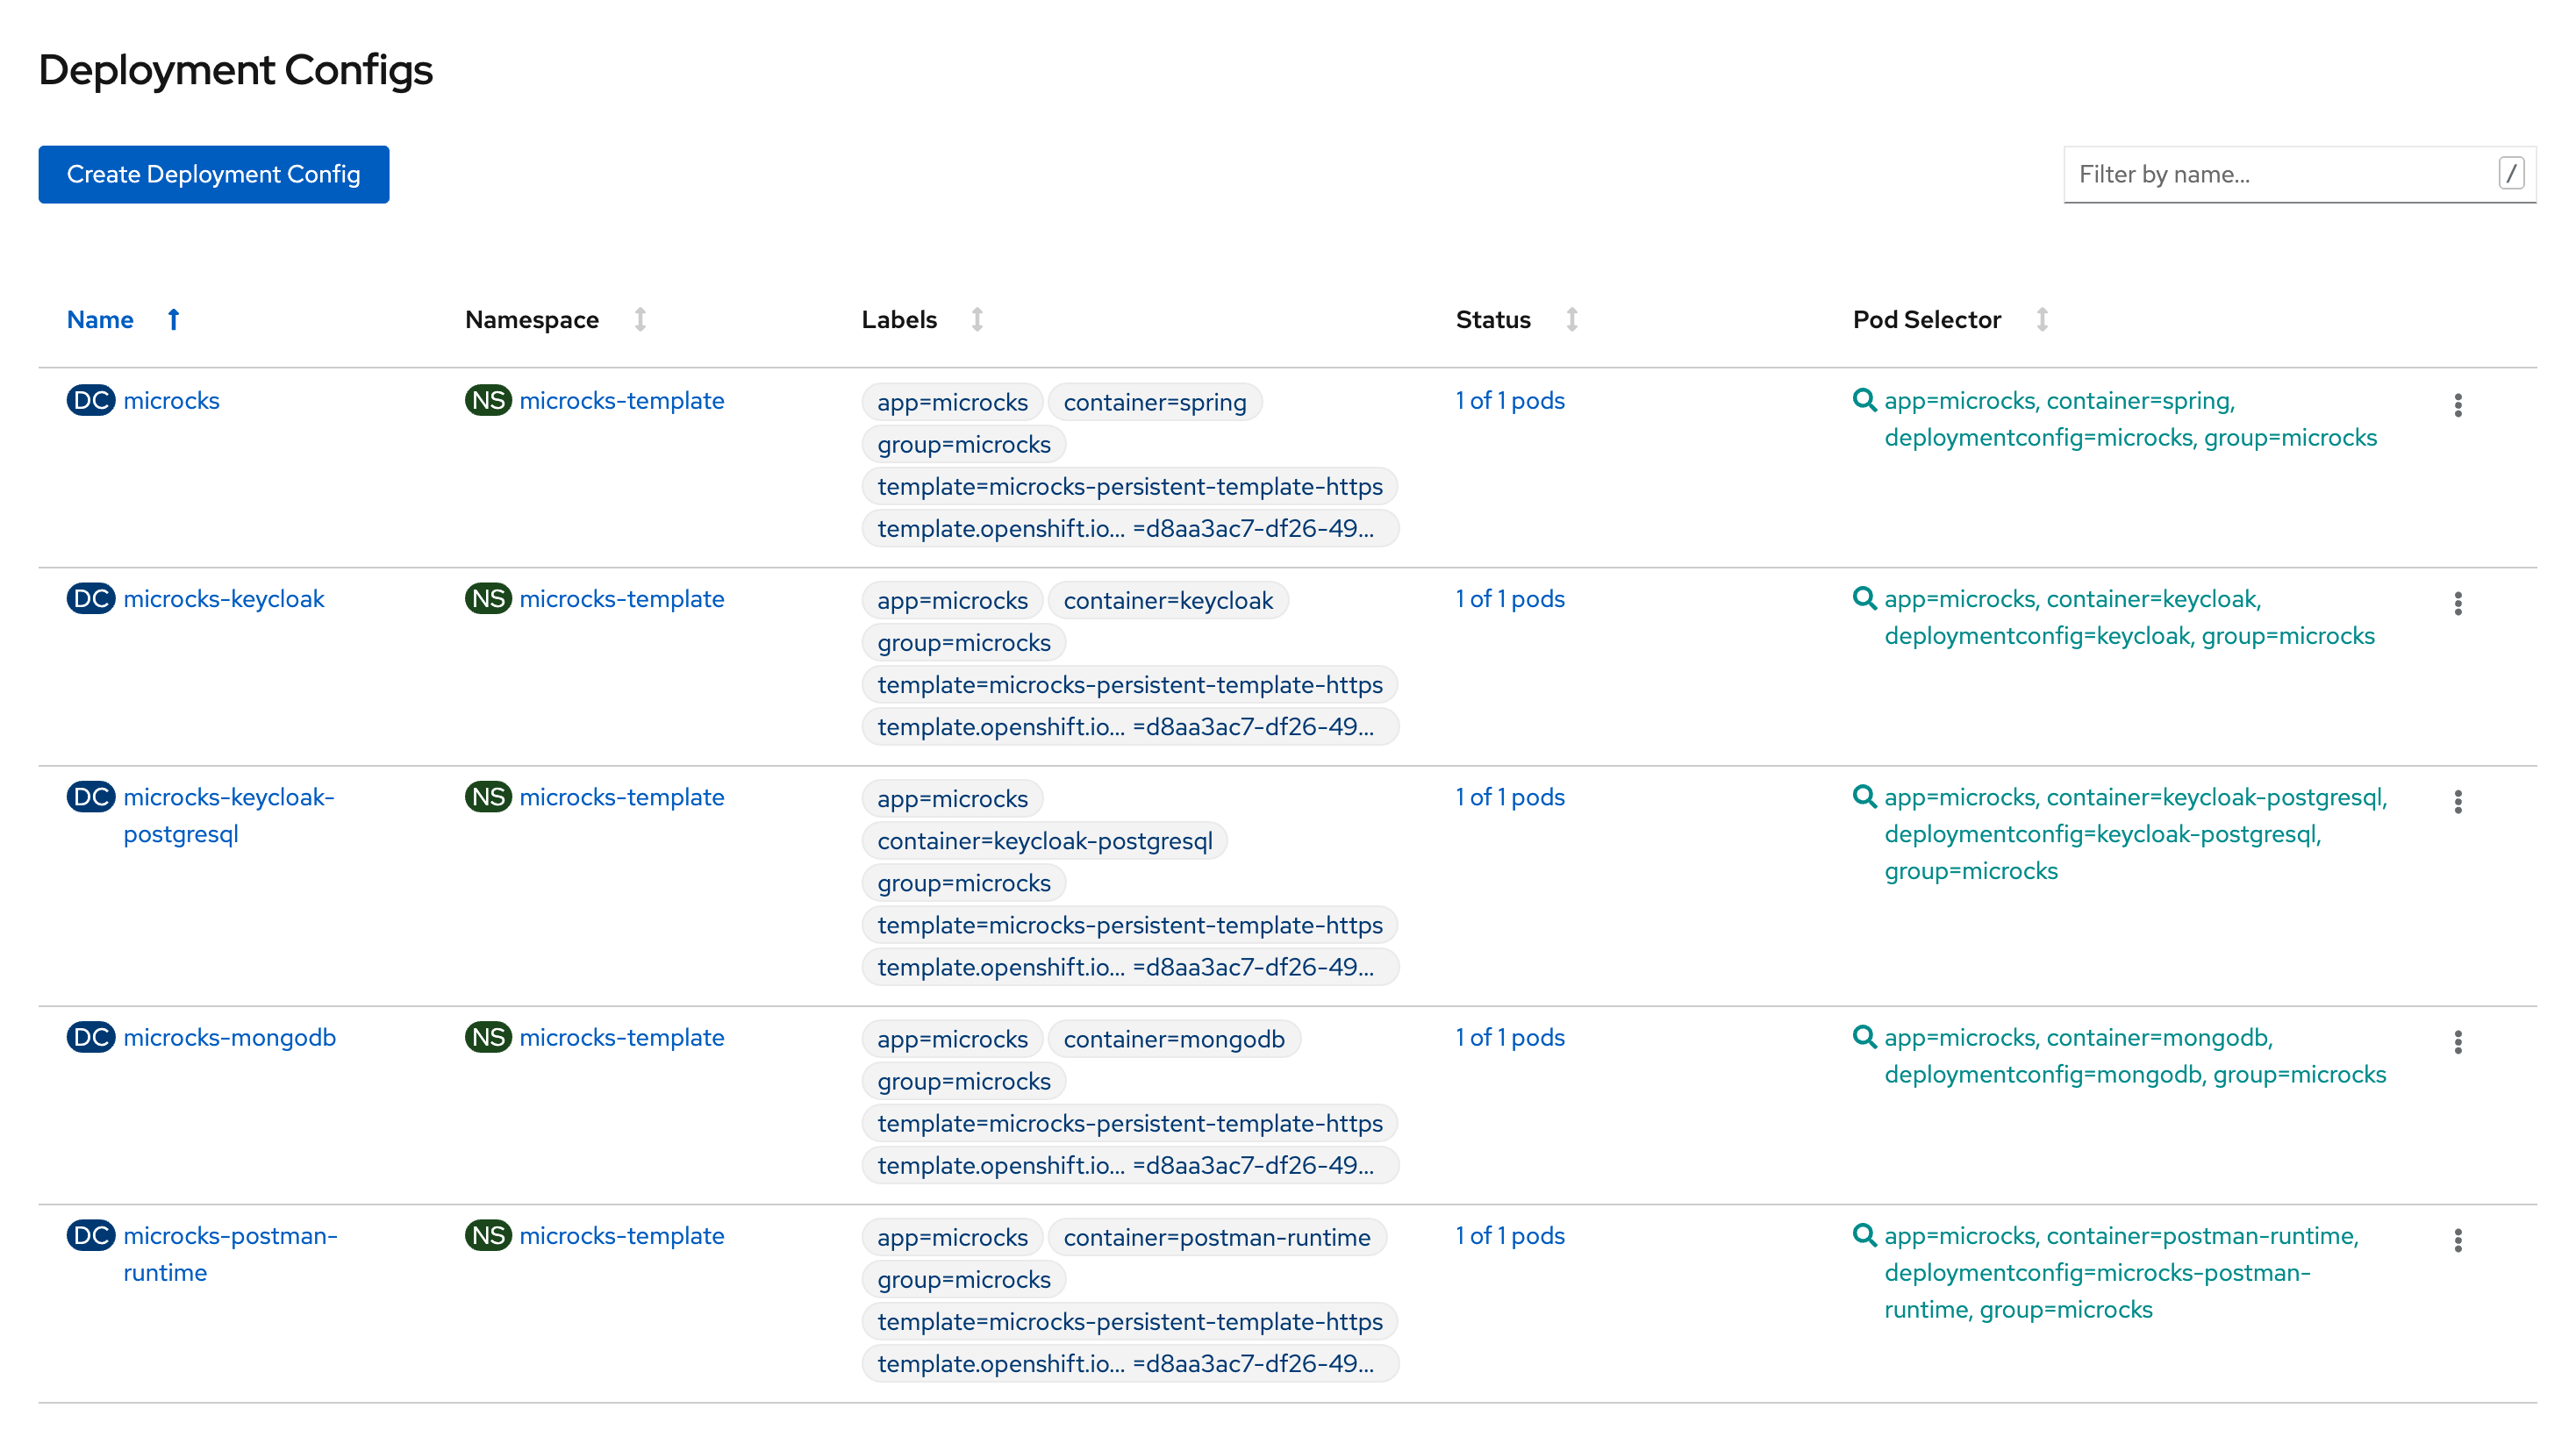
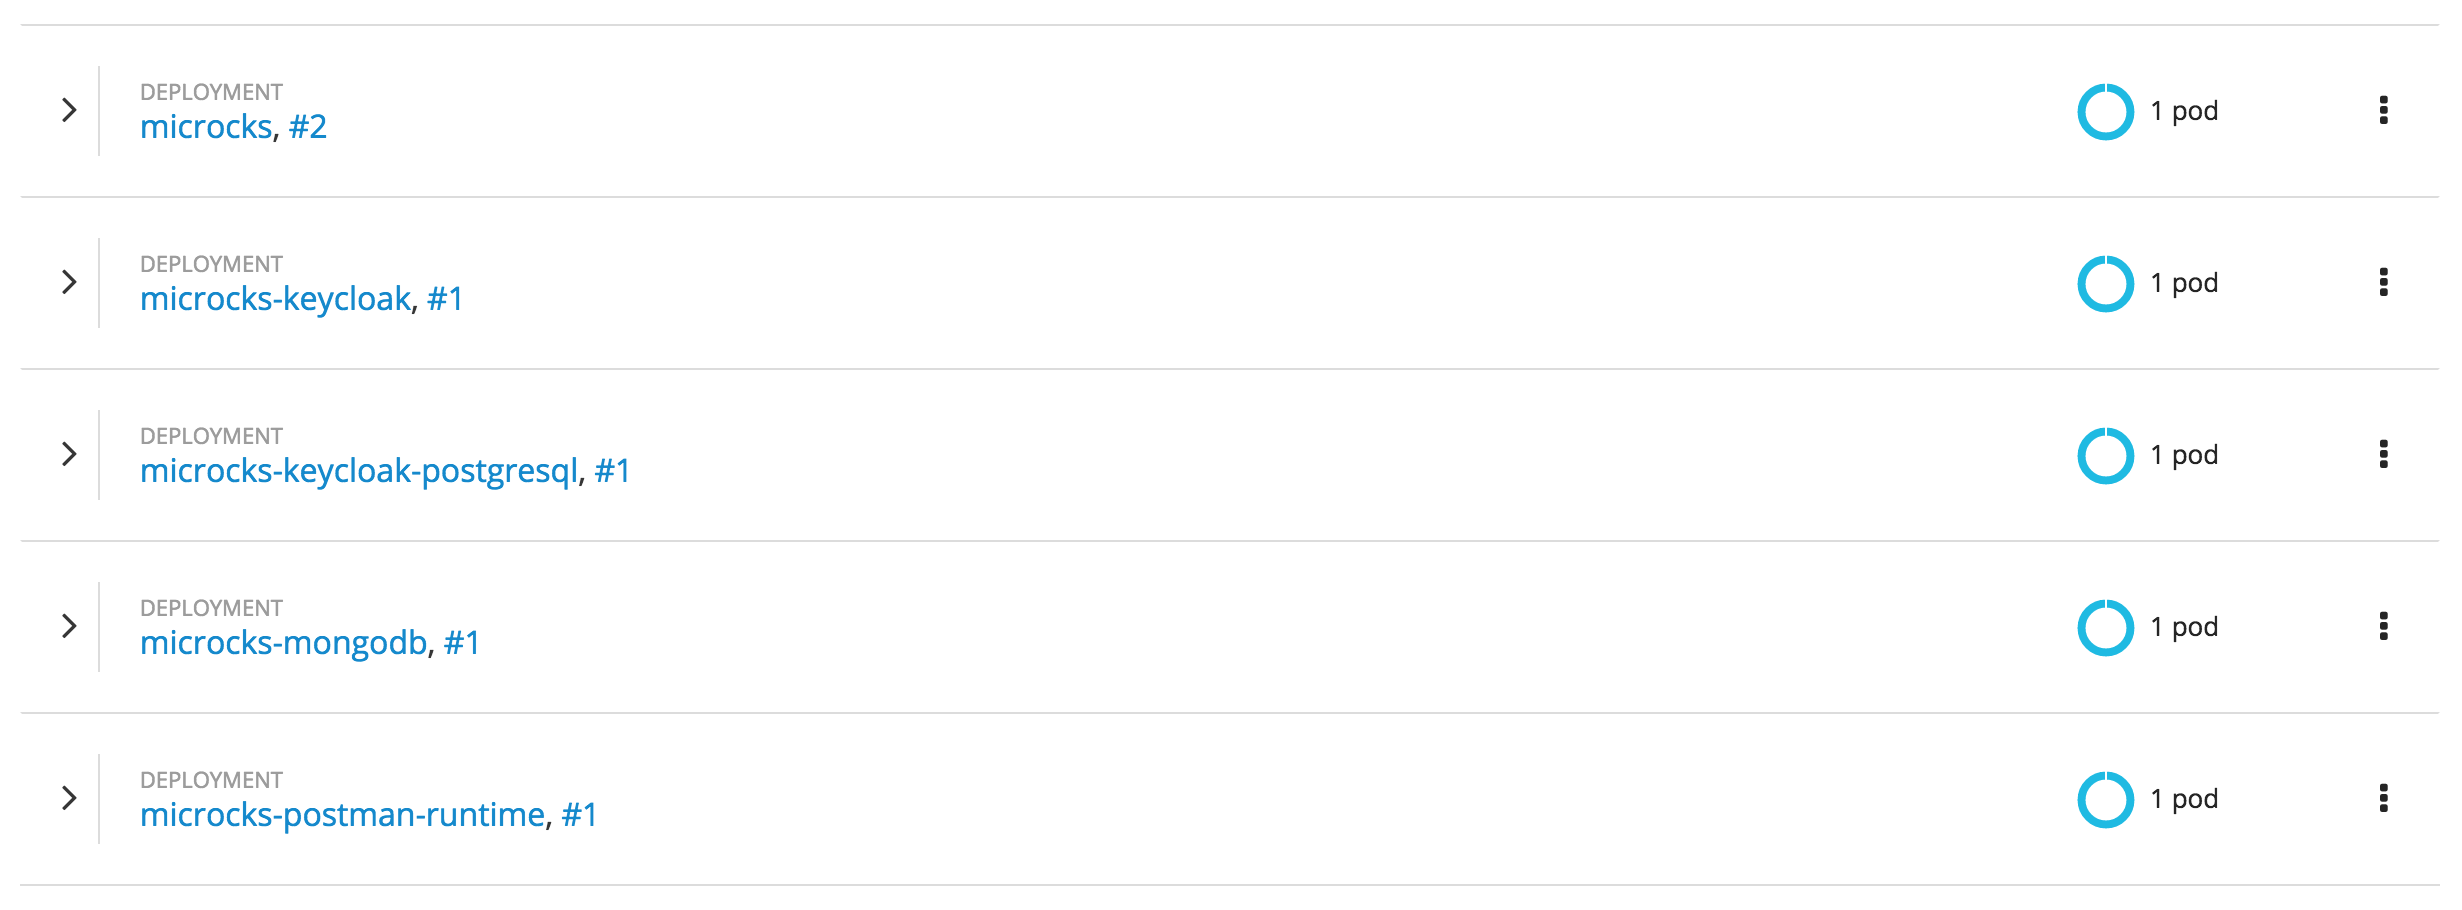
After some minutes and components have been deployed, you should end up with a Spring-boot Pod, a MongoDB Pod, a Postman-runtime Pod, a Keycloak Pod and a PostgreSQL Pod like in the screenshot below.
Now you can retrieve the URL of the created route using oc get routes command and navigate to this URL to get started with Microcks. Depending on your environment, URL should be something like http://microcks-microcks.192.168.99.100.nip.io. Before starting playing with Microcks, you’ll have to connect to Keycloak component in order to configure an identity provider or define some users for the Microcks realm (see Keycloak documentation). Connection to Keycloak can be done using username and password stored into a microcks-keycloak-config secret created during setup.
OpenShift 3.x
Templates for OpenShift 3.x come in many flavors: ephemeral or persistent, with or without Keycloak installation, with or without HTTPS support. With OpenShift 3.x, instanciating a template embedding Keycloak will require cluster-admin privileges as we configure the OpenShift Identity Provider by default and need to create an OAuth client for that. In persistent mode, template will claim a persistent volume during instanciation, such a volume should be available to your team / project on OpenShift cluster.
Add the templates, by using these commands :
$ oc create -f https://raw.githubusercontent.com/microcks/microcks/1.0.0/install/openshift/openshift-ephemeral-full-template.yml -n openshift
$ oc create -f https://raw.githubusercontent.com/microcks/microcks/1.0.0/install/openshift/openshift-ephemeral-full-template-https.yml -n openshift
$ oc create -f https://raw.githubusercontent.com/microcks/microcks/1.0.0/install/openshift/openshift-ephemeral-no-keycloak-template.yml -n openshift
$ oc create -f https://raw.githubusercontent.com/microcks/microcks/1.0.0/install/openshift/openshift-ephemeral-no-keycloak-template-https.yml -n openshift
$ oc create -f https://raw.githubusercontent.com/microcks/microcks/1.0.0/install/openshift/openshift-persistent-full-template.yml -n openshift
$ oc create -f https://raw.githubusercontent.com/microcks/microcks/1.0.0/install/openshift/openshift-persistent-full-template-https.yml -n openshift
$ oc create -f https://raw.githubusercontent.com/microcks/microcks/1.0.0/install/openshift/openshift-persistent-no-keycloak-template.yml -n openshift
$ oc create -f https://raw.githubusercontent.com/microcks/microcks/1.0.0/install/openshift/openshift-persistent-no-keycloak-template-https.yml -n openshift
Once this is done can now create a new project and instanciate the template of your choice ; either using the OpenShift web console or the command line. You will need to fill up some parameters during creation such as:
- the hostname for routes serving Microcks and embedded Keycloak (typically
component_name-project-app_domain), - the URL for joining OpenShift Master,
- a name for an OAuth Client that will be created apart the app creation.
Typically, you’ll got this kind of commands for a local Minishift instance:
$ oc new-project microcks --display-name="Microcks"
$ oc new-app --template=microcks-persistent \
   --param=APP_ROUTE_HOSTNAME=microcks-microcks.192.168.99.100.nip.io \
   --param=KEYCLOAK_ROUTE_HOSTNAME=keycloak-microcks.192.168.99.100.nip.io \
   --param=OPENSHIFT_MASTER=https://192.168.99.100:8443 \
   --param=OPENSHIFT_OAUTH_CLIENT_NAME=microcks-client
After some minutes and components have been deployed, you should end up with a Spring-boot Pod, a MongoDB Pod, a Postman-runtime Pod, a Keycloak Pod and a PostgreSQL Pod like in the screenshot below.
Now you can retrieve the URL of the created route using oc get routes command and navigate to this URL to get started with Microcks. Depending on your environment, URL should be something like http://microcks-microcks.192.168.99.100.nip.io. By default, Microcks integrates with OpenShift identity provider through the use of Keycloak but you may configure some other providers later.