
-
Using
- Importing Services & APIs
- Comparison to alternatives
- OpenAPI Mocking and Testing
- Swagger Mocking and Testing
- AsyncAPI Mocking and Testing
- Postman usage for Microcks
- gRPC Mocking and Testing
- GraphQL Mocking and Testing
- SoapUI Mocking and Testing
- Http Archive usage for Microcks
- Using exposed mocks
- Getting direct API
- Testing with Microcks
- Advanced topics
- Organizing repository
- Templating mock responses
- Dispatcher & dispatching rules
- Microcks APIMetadata
- Monitoring & Observability
- Installing
- Automating
- Administrating
- Guides
On Kube using Helm
🗓️ Last updated on June 22, 2023 | 2 | Improve this pageInstructions
One easy way of installing Microcks is via a Helm Chart . Kubernetes version 1.17 or greater is required. It is assumed that you have some kind of Kubernetes cluster up and running available. This can take several forms depending on your environment and needs:
- Lightweight Minikube on your laptop, see Minikube project page ,
- A Google Cloud Engine account in the cloud, see how to start a Free trial ,
- Any other Kubernetes distribution provider.
Helm 3
Helm 3 chart has been tested from Kubernetes 1.17 and is now available on our own repository. This allows you to install Microcks with just 3 commands:
$ helm repo add microcks https://microcks.io/helm

$ kubectl create namespace microcks

$ helm install microcks microcks/microcks --version 1.7.1 --namespace microcks --set microcks.url=microcks.$(minikube ip).nip.io --set keycloak.url=keycloak.$(minikube ip).nip.io
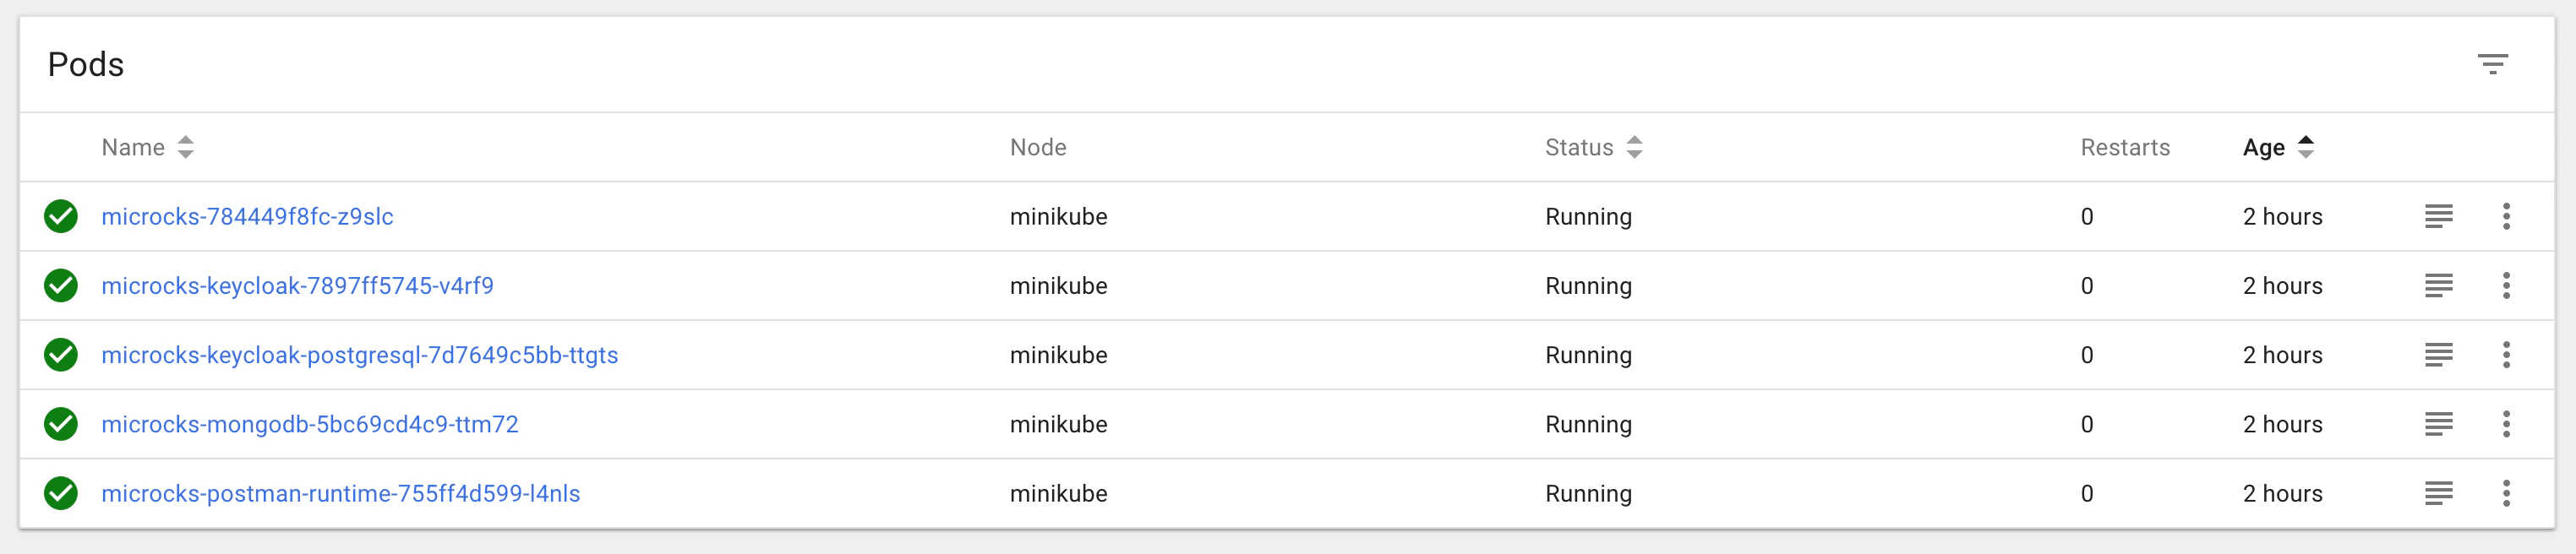
After some minutes and components have been deployed, you should end up with a Spring-boot Pod, a MongoDB Pod, a Postman-runtime Pod, a Keycloak Pod and a PostgreSQL Pod like in the screenshot below.
Now you can retrieve the URL of the created ingress using kubectl get ingress -n microcks.
Before starting to play with Microcks, you’ll have to connect to the Keycloak component in order to configure an identity provider or define some users for the Microcks realm (see Keycloak documentation
). Connection to Keycloak can be done using username and password stored into a microcks-keycloak-config secret created during setup.
Starting with Microcks
1.2.0release, the installation process now creates default users with the different roles available. So you can directly login usinguser,manageroradminusername withmicrocks123password.
For full instructions and deployment options, we recommend reading the README on GitHub repository.
Minikube setup
The video below shows an install using the Helm chart on Minikube and also shows the post-installation steps required for creating users and connecting to the app (required before the 1.2.0 release):
When using Minikube, depending on what you’ve already deployed, the default configuration may be little bit slow and induce timeout on readiness probes. We usually setup the following configuration for successful deployments:
minikube config set cpus 4
minikube config set memory 6144
minikube delete
minikube start
Also, if you typically need to access the Kafka broker from the outside of Kube, you’ll need to enable the SSL Passthrough on Nginx ingress controller. Here below is the command that is used in above video:
$ kubectl patch -n kube-system deployment/ingress-nginx-controller --type='json' \
    -p '[{"op":"add","path":"/spec/template/spec/containers/0/args/-","value":"--enable-ssl-passthrough"}]'

Still Didn’t Find Your Answer?
Join our community and get the help you need. Engage with other members, ask questions, and share knowledge to resolve your queries and expand your understanding.
Join the community