
-
Using
- Importing Services & APIs
- Comparison to alternatives
- OpenAPI Mocking and Testing
- Swagger Mocking and Testing
- AsyncAPI Mocking and Testing
- Postman usage for Microcks
- gRPC Mocking and Testing
- GraphQL Mocking and Testing
- SoapUI Mocking and Testing
- Http Archive usage for Microcks
- Using exposed mocks
- Getting direct API
- Testing with Microcks
- Advanced topics
- Organizing repository
- Templating mock responses
- Dispatcher & dispatching rules
- Microcks APIMetadata
- Monitoring & Observability
- Installing
- Automating
- Administrating
- Guides
Getting started
🗓️ Last updated on June 21, 2023 | 4 | Improve this pageQuickstart
The easiest way to get started is using Docker Compose to start with minimal requirements. Make sure you have Docker installed on your system.
In your terminal issue the following commands:
-
Clone this repository.
git clone https://github.com/microcks/microcks.git --depth 10 -
Change to the install folder
cd microcks/install/docker-compose -
Spin up the containers
docker-compose up -d
This will start the necessary containers and setup a simple environment for you to use.
Open a new browser tab and point to the http://localhost:8080 endpoint. This will redirect you to the Keycloak
Single Sign On page for login. Use the following default credentials to login into the application:
- Username:
admin - Password:
microcks123
Using Microcks
Now you are ready to use Microcks for deploying your own services and API mocks! Before that let’s have the look at the application home screen and introduce the main concepts. Using the application URL after installation, we should land on this page with two main entry points : APIs | Services and Importers.
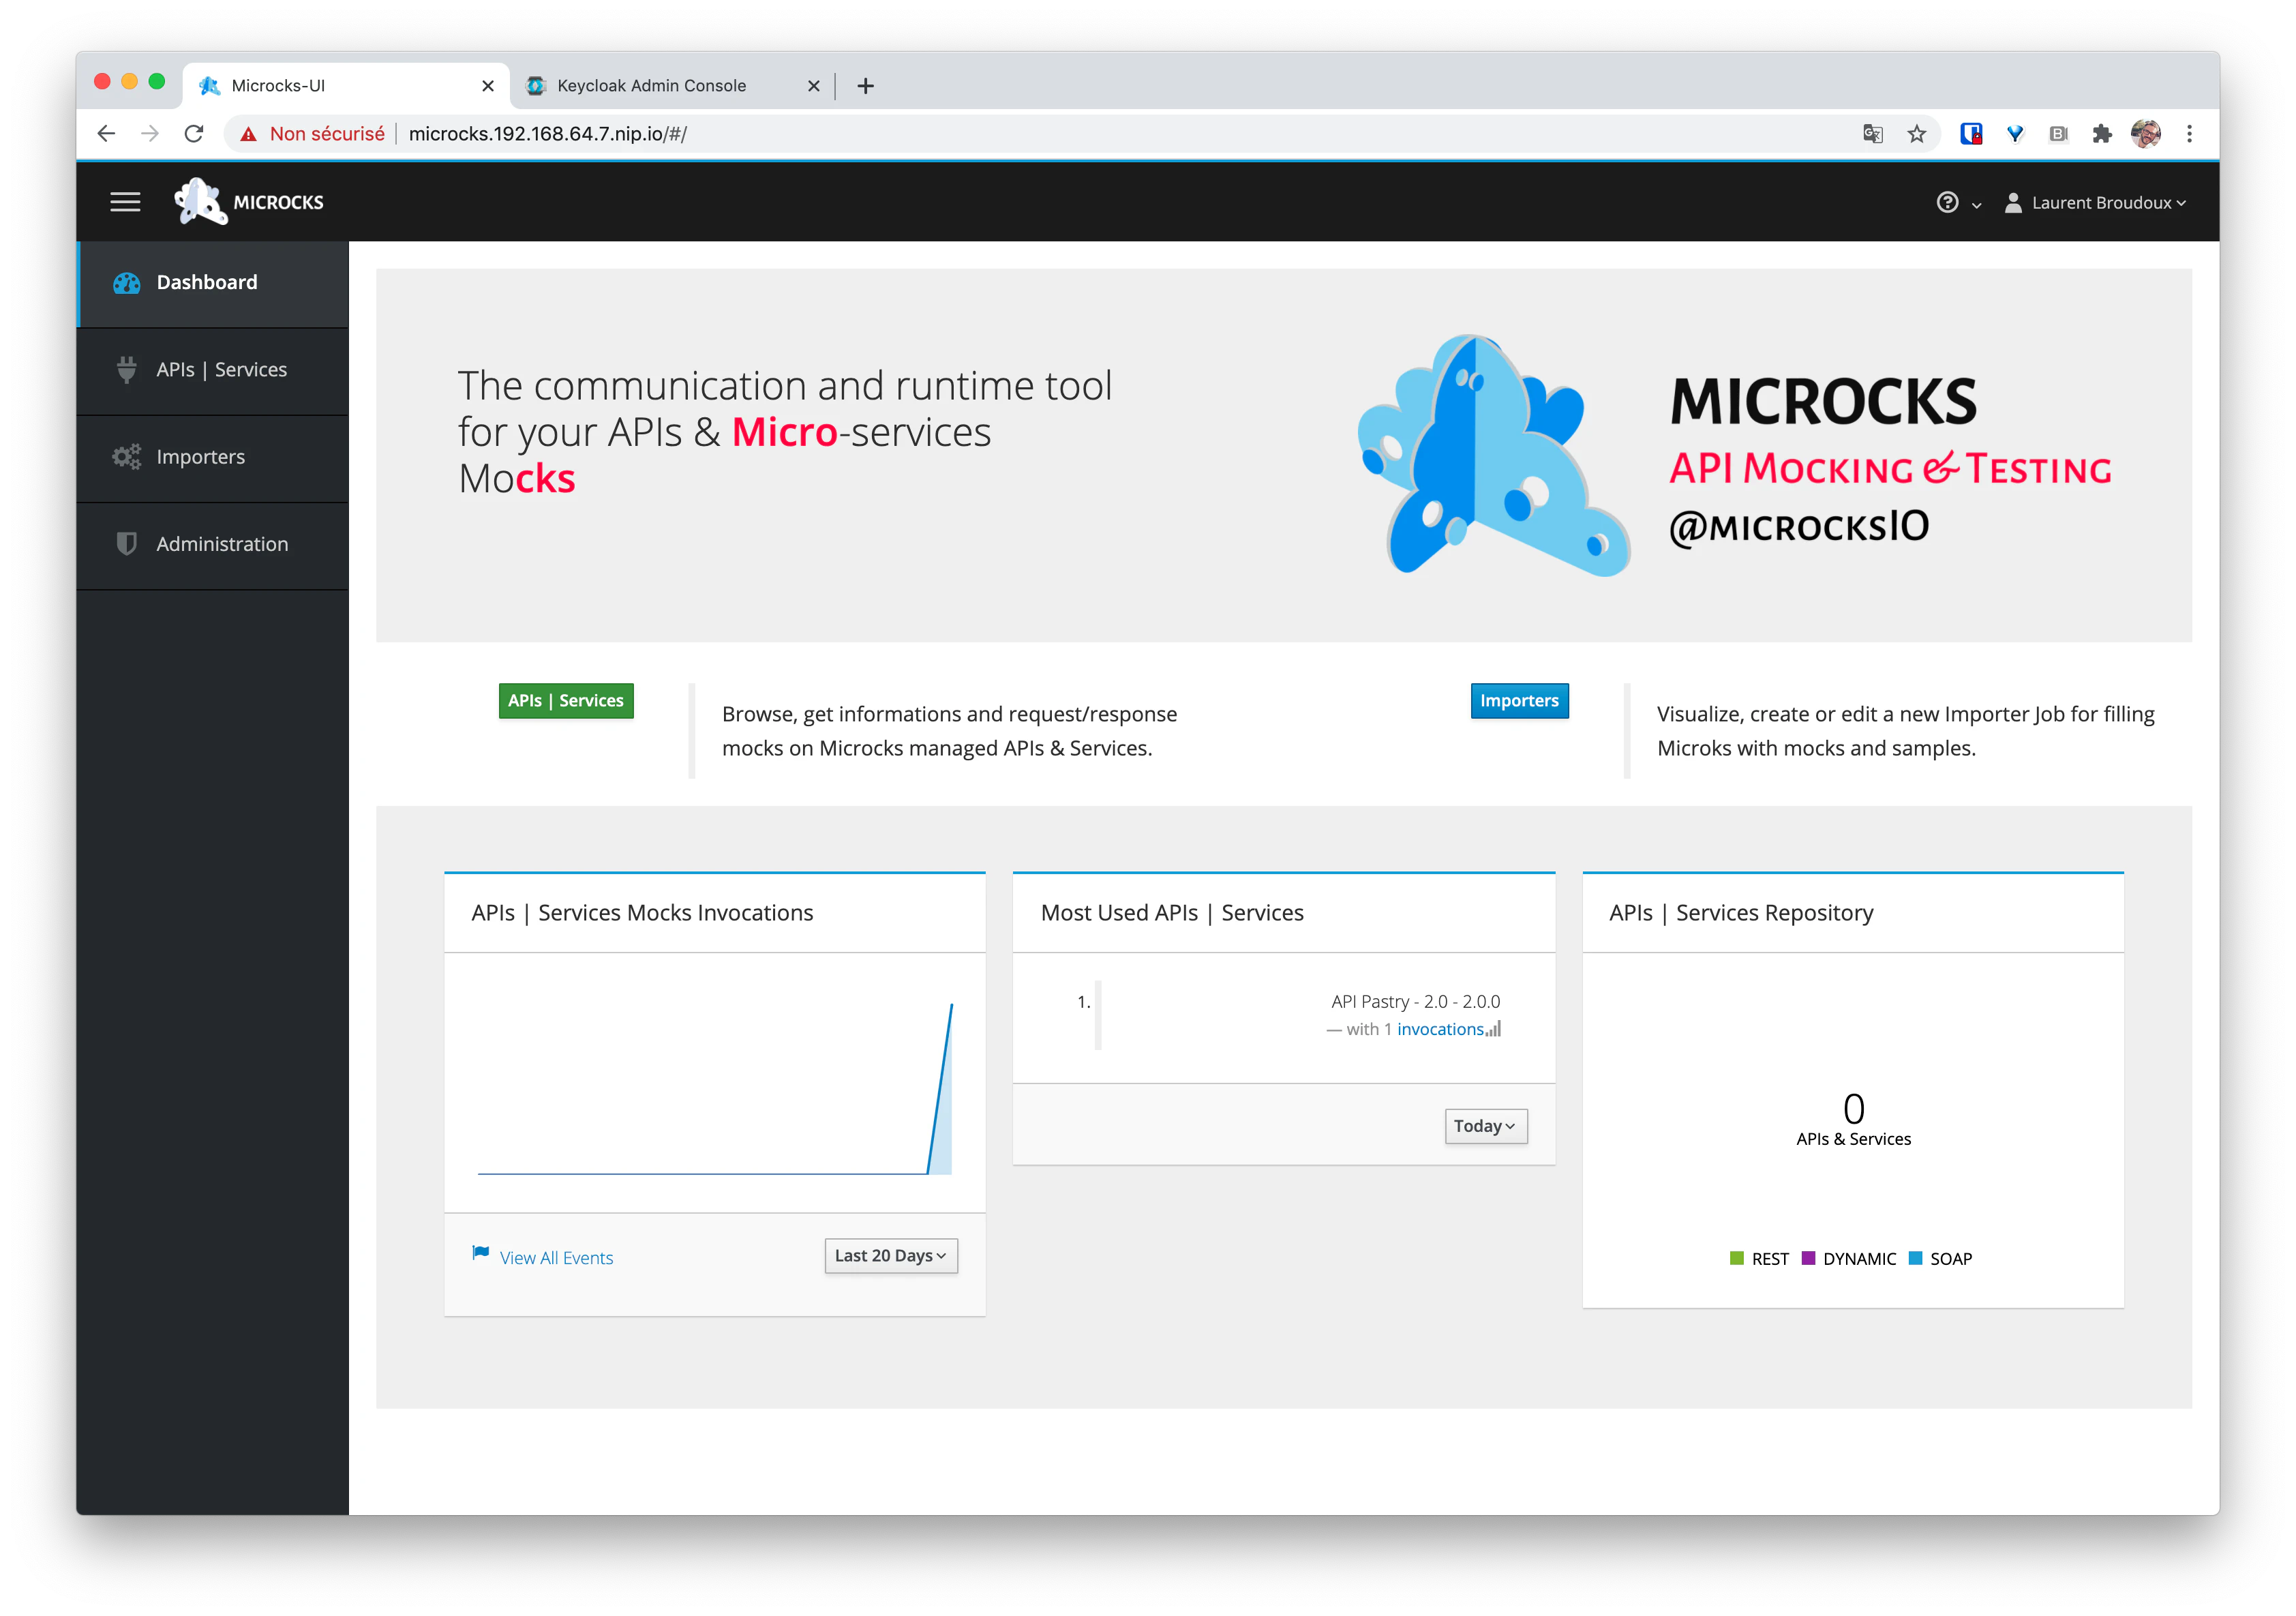
As you may have guessed, APIs | Services is for browsing your [micro]-services and API repository, discovering and accessing documentation, mocks, and tests. Importers will help you to populate your repository, allowing you to define Jobs that periodically scan your Git or Subversion repositories for new definition files, parse them and integrate them into your [micro]-services and API repository. Indeed Importers help you discover both new and modified Services. Before using your own service definition files, let’s load some samples into Microcks for a test ride!
Loading samples
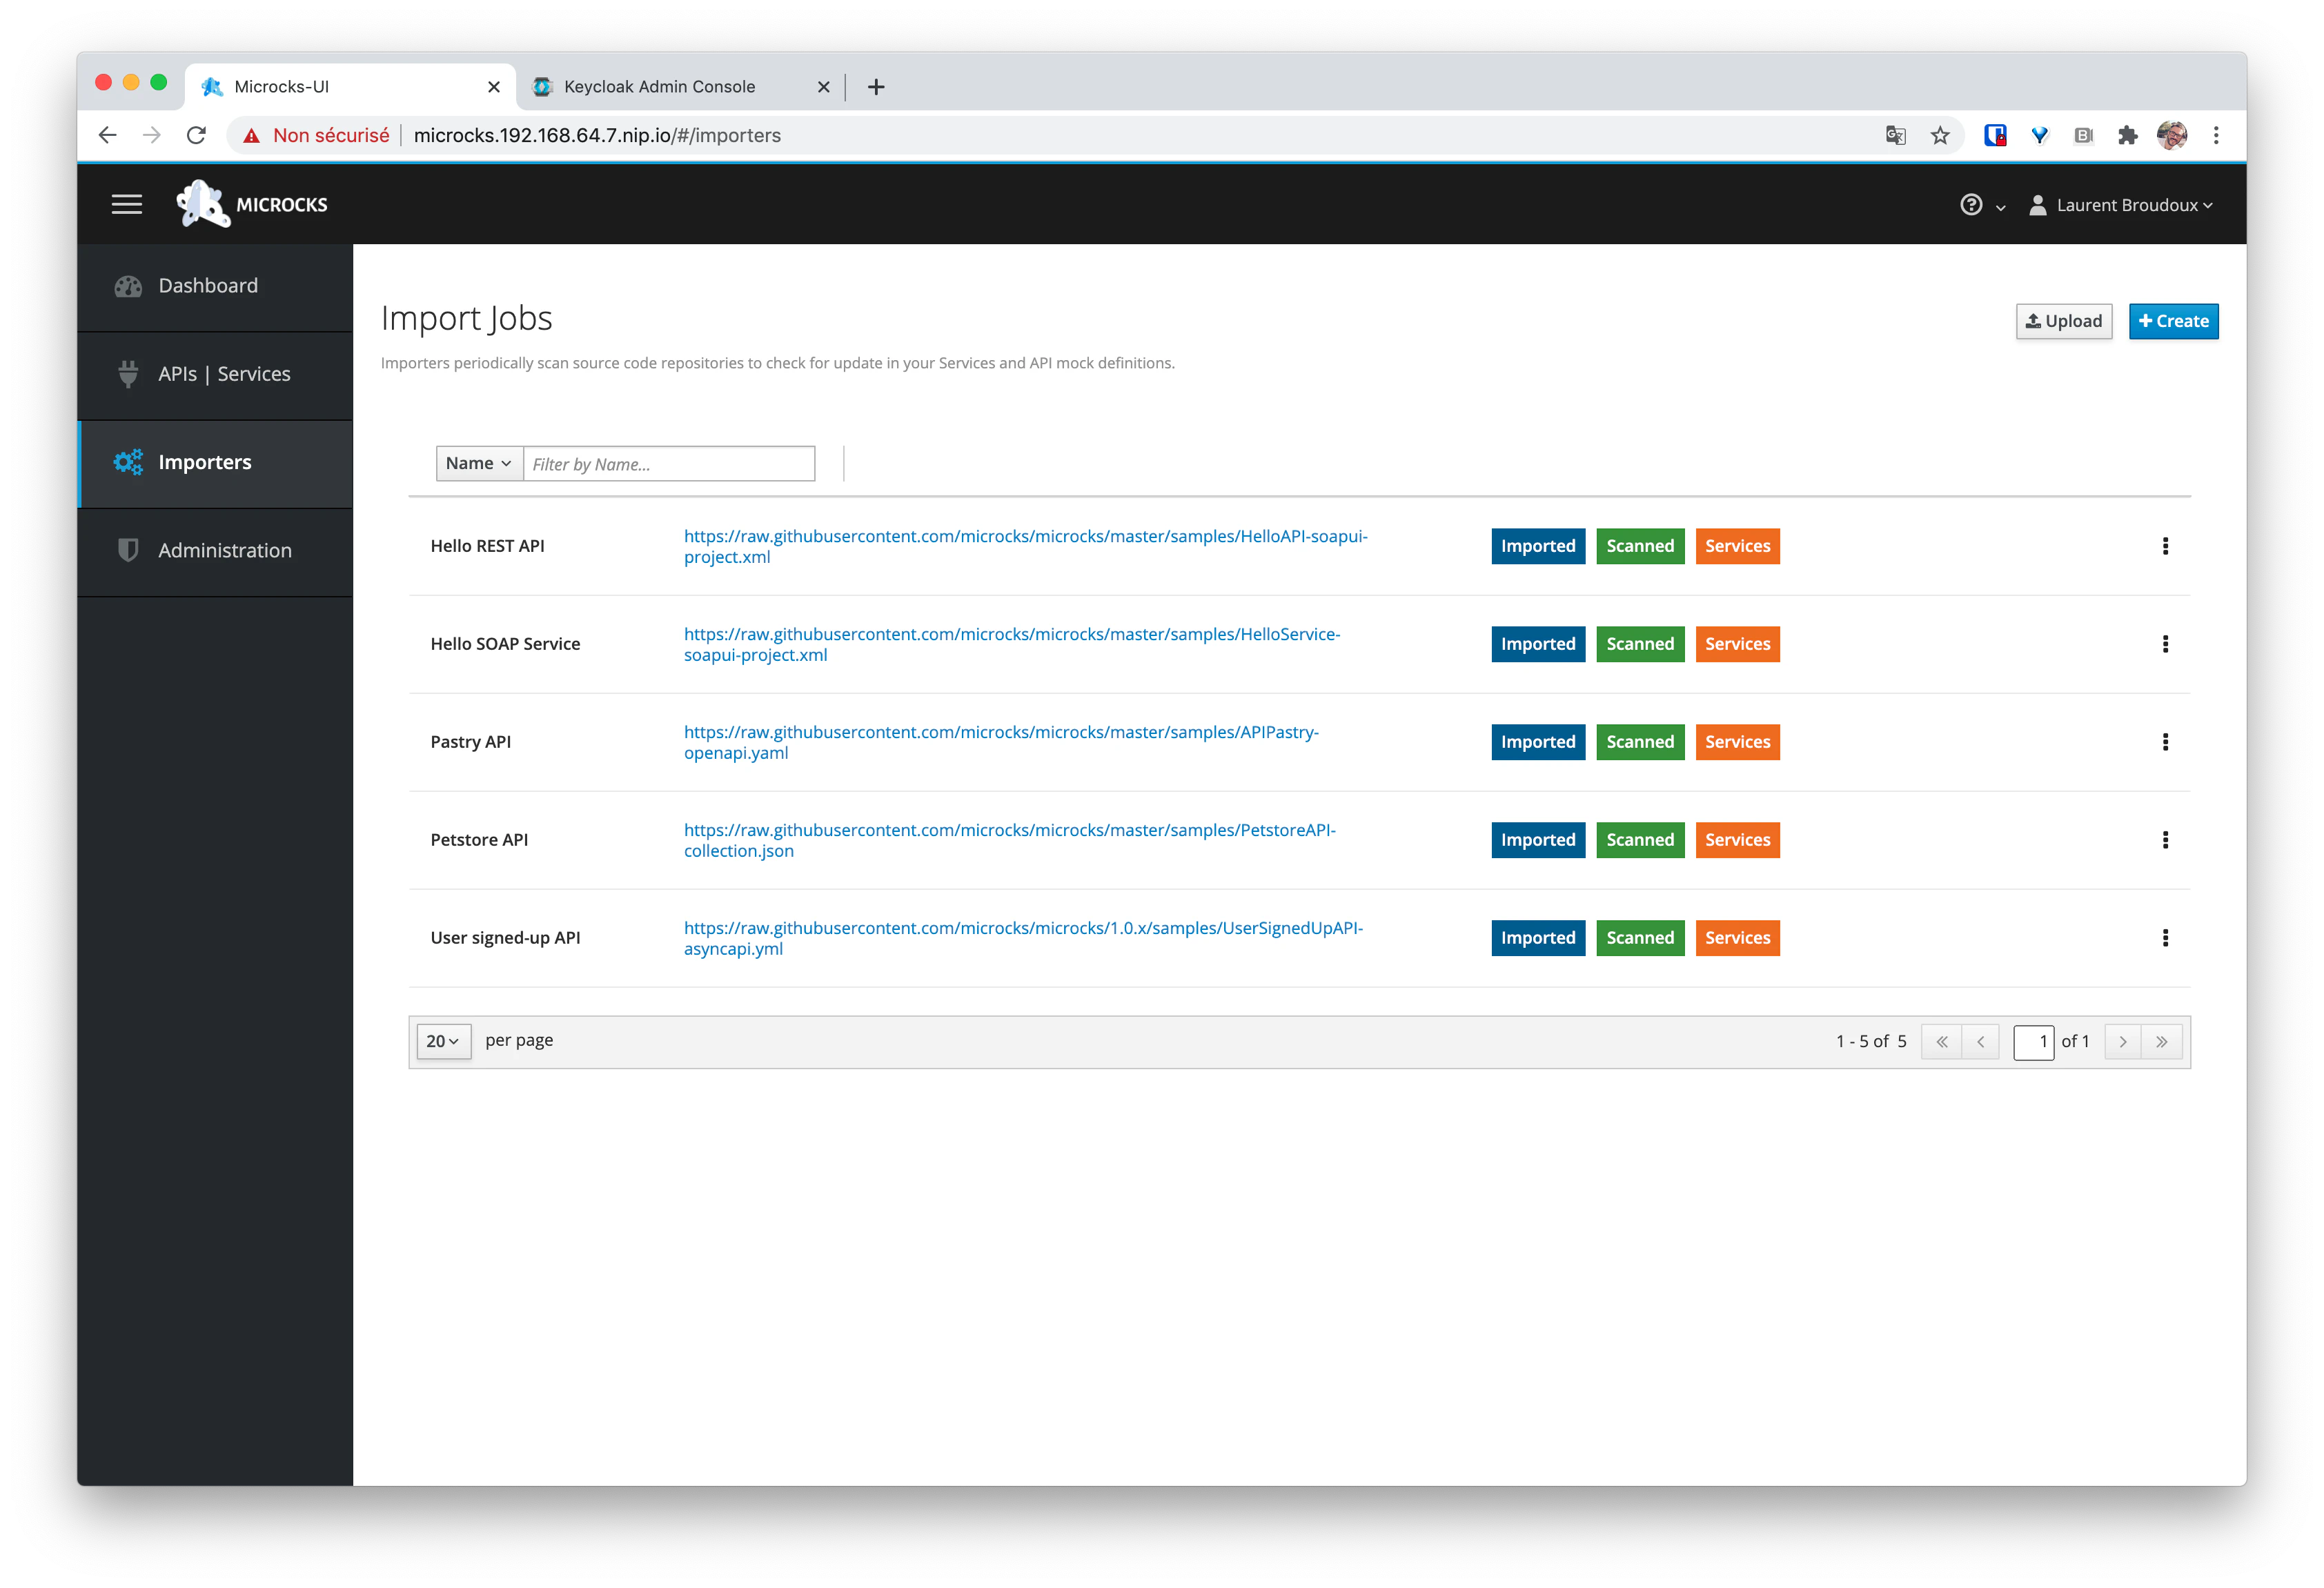
We provide different samples that illustrate different ways of creating service definitions. The first two are definition files created using SoapUI and demonstrating SOAP and REST services. The third one is a definition file built using Postman and demonstrating the famous Petstore API. The fourth one is an OpenAPI v3 specification file and presents the advantages of holding both the contract specification and request/response examples. The last one is an AsyncAPI v2 specification file - AsyncAPI being a new specification format dedicated to asychronous and event-oriented APIs. Using the Importers entry point from home screen or left navigation bar, use the Importers management page to add 5 new jobs. For each, you will be asked a name and a repository URL. Use the information below:
- Hello SOAP Service :
https://raw.githubusercontent.com/microcks/microcks/master/samples/HelloService-soapui-project.xml - Hello REST API :
https://raw.githubusercontent.com/microcks/microcks/master/samples/HelloAPI-soapui-project.xml - Petstore API :
https://raw.githubusercontent.com/microcks/microcks/master/samples/PetstoreAPI-collection.json - Pastry API :
https://raw.githubusercontent.com/microcks/microcks/master/samples/APIPastry-openapi.yaml - User signed-up API :
https://raw.githubusercontent.com/microcks/microcks/master/samples/UserSignedUpAPI-asyncapi.yml
Now that you have created your Jobs, they are automatically Activated (this make them eligible to a periodically check) and Imported (this causes an immediate forced refresh). After some moments and a page refresh, you should see the status of Jobs changed as in screenshot below:
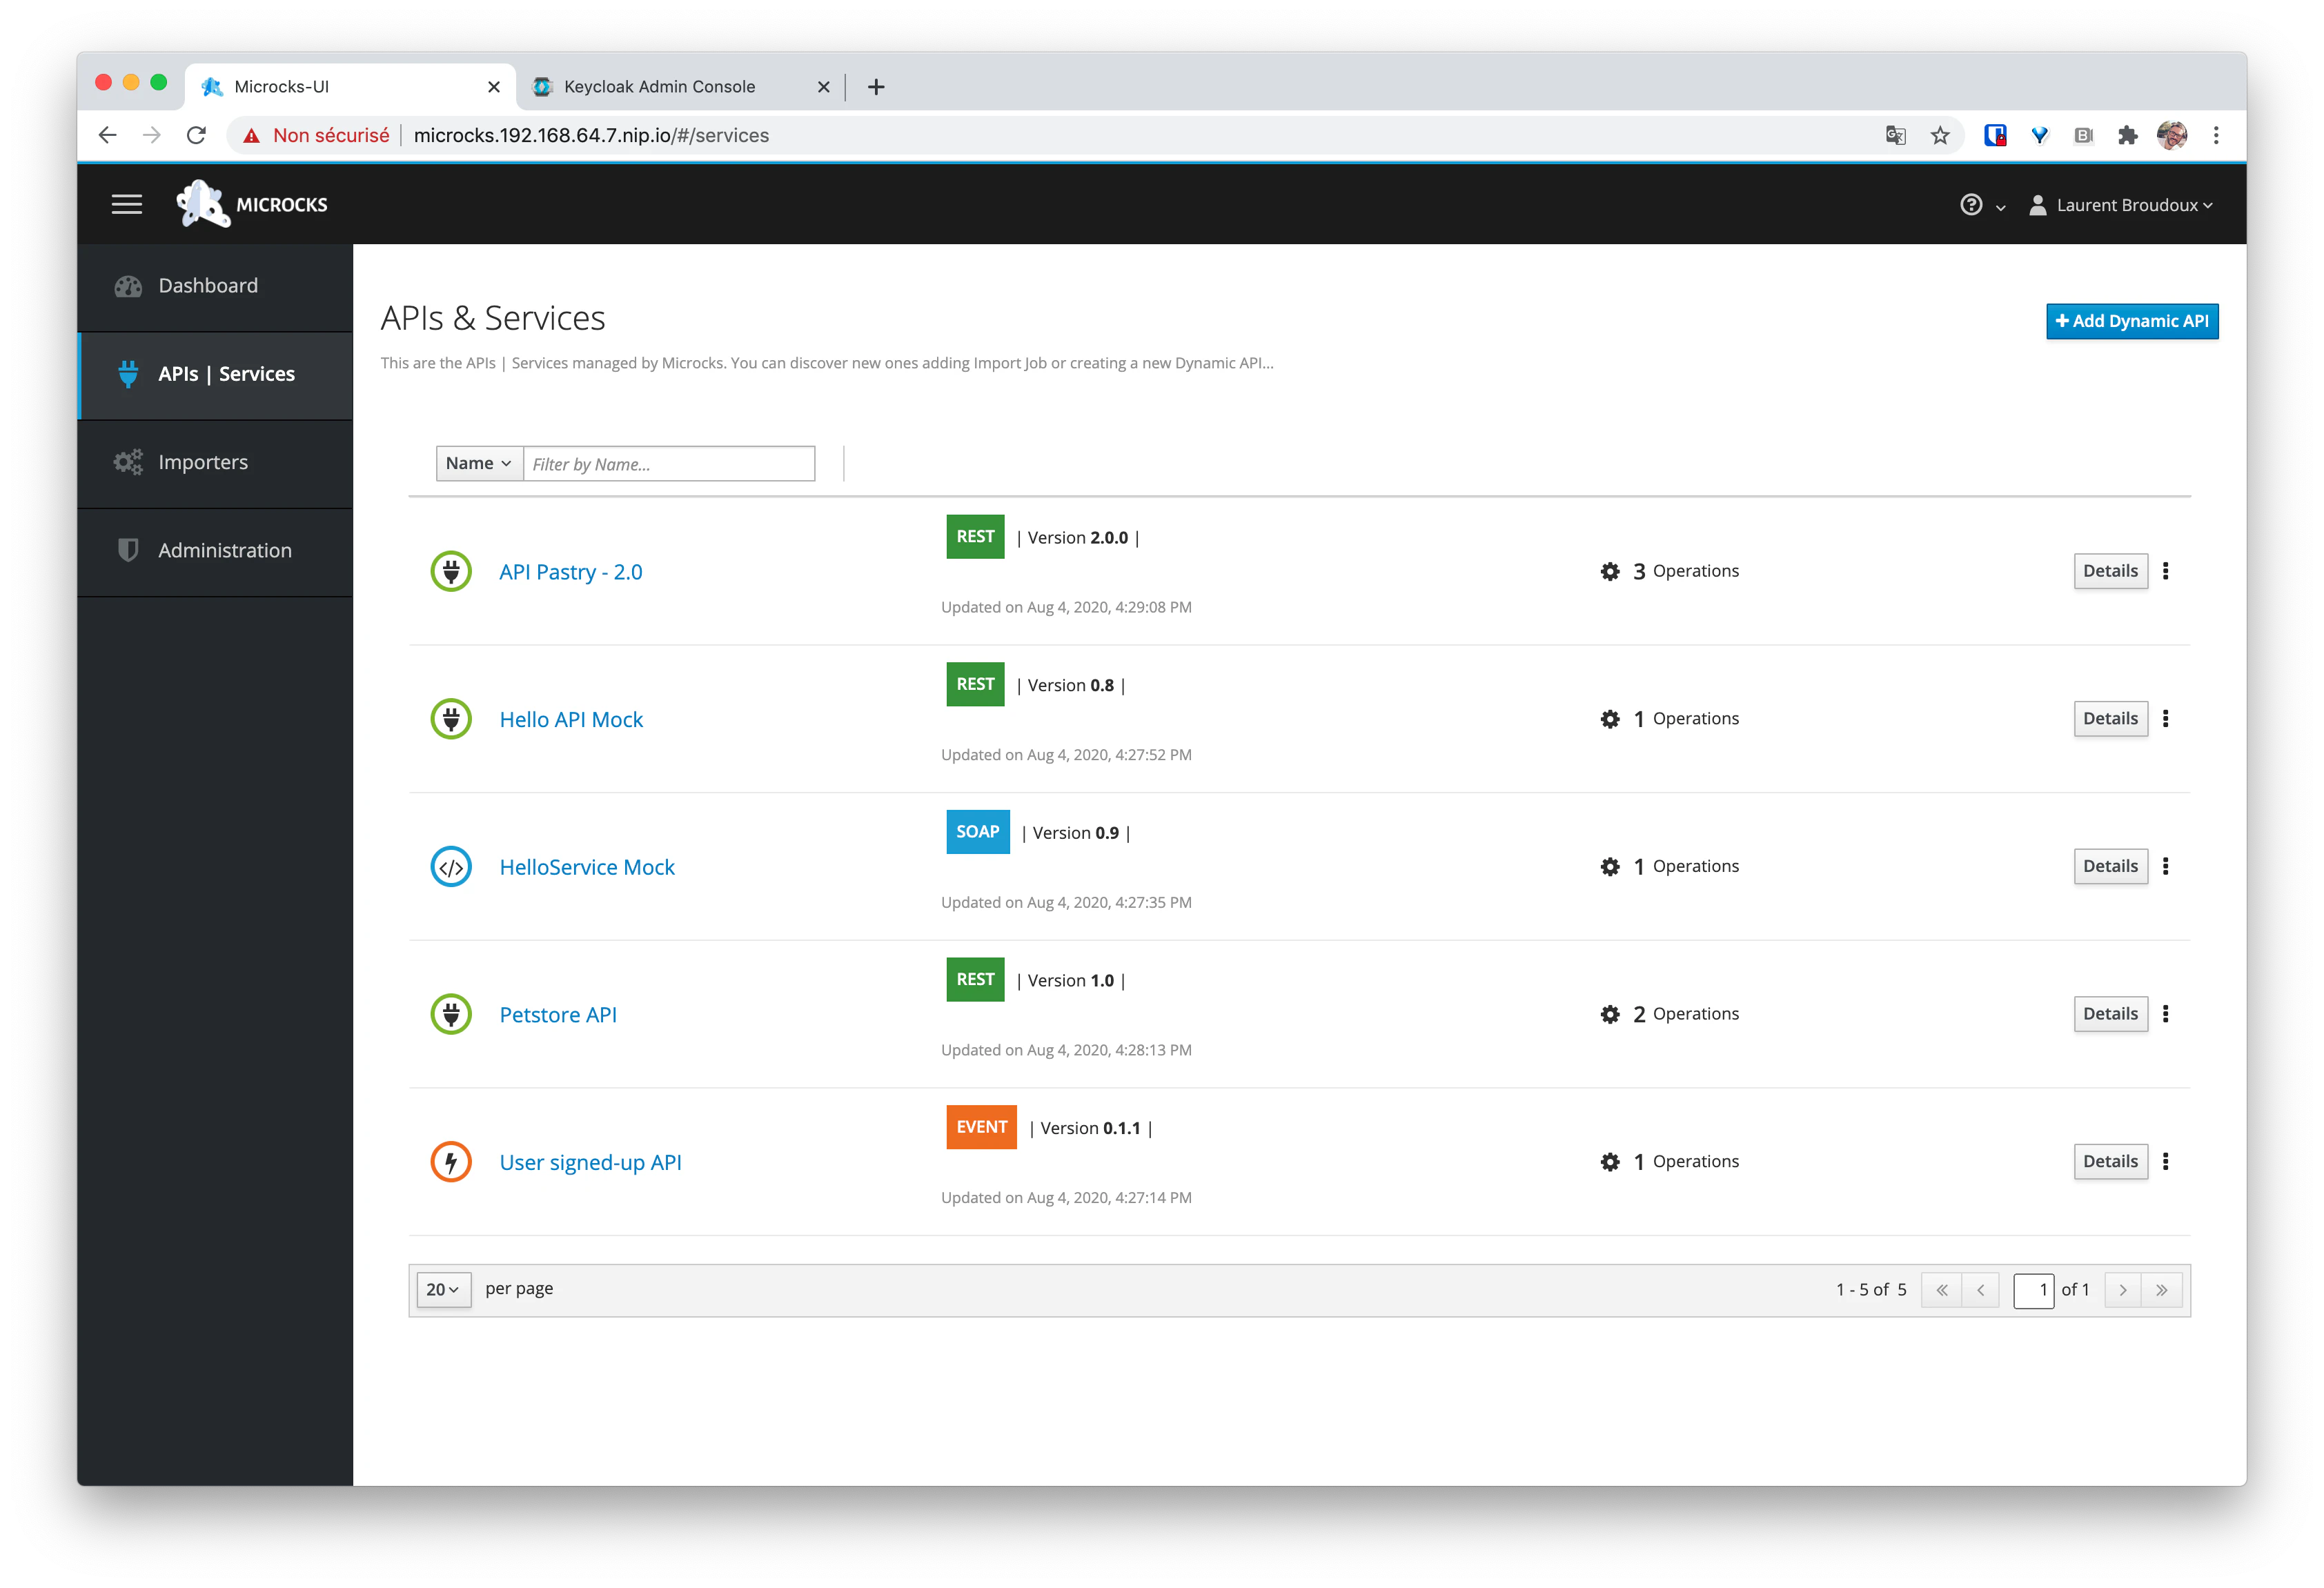
Viewing services
Once sample jobs have been loaded, new services have been discovered and added to your repository, you can now visit the API | Services entry point from top navigation bar or home screen. You should see 5 new services with basic information on version and operations/resources handled by these services.
Viewing details
Now choosing the Petstore API REST API, you’ll be able to access the details, documentation and request/response samples for each operation/resource in the screen below. One important bit of information here is the Mocks URL field: this is the endpoint where Microcks automatically deploy a mock for this operation. The table just below shows request/response pairs and a detailed URL with the HTTP verb showing how to invoke this mock.
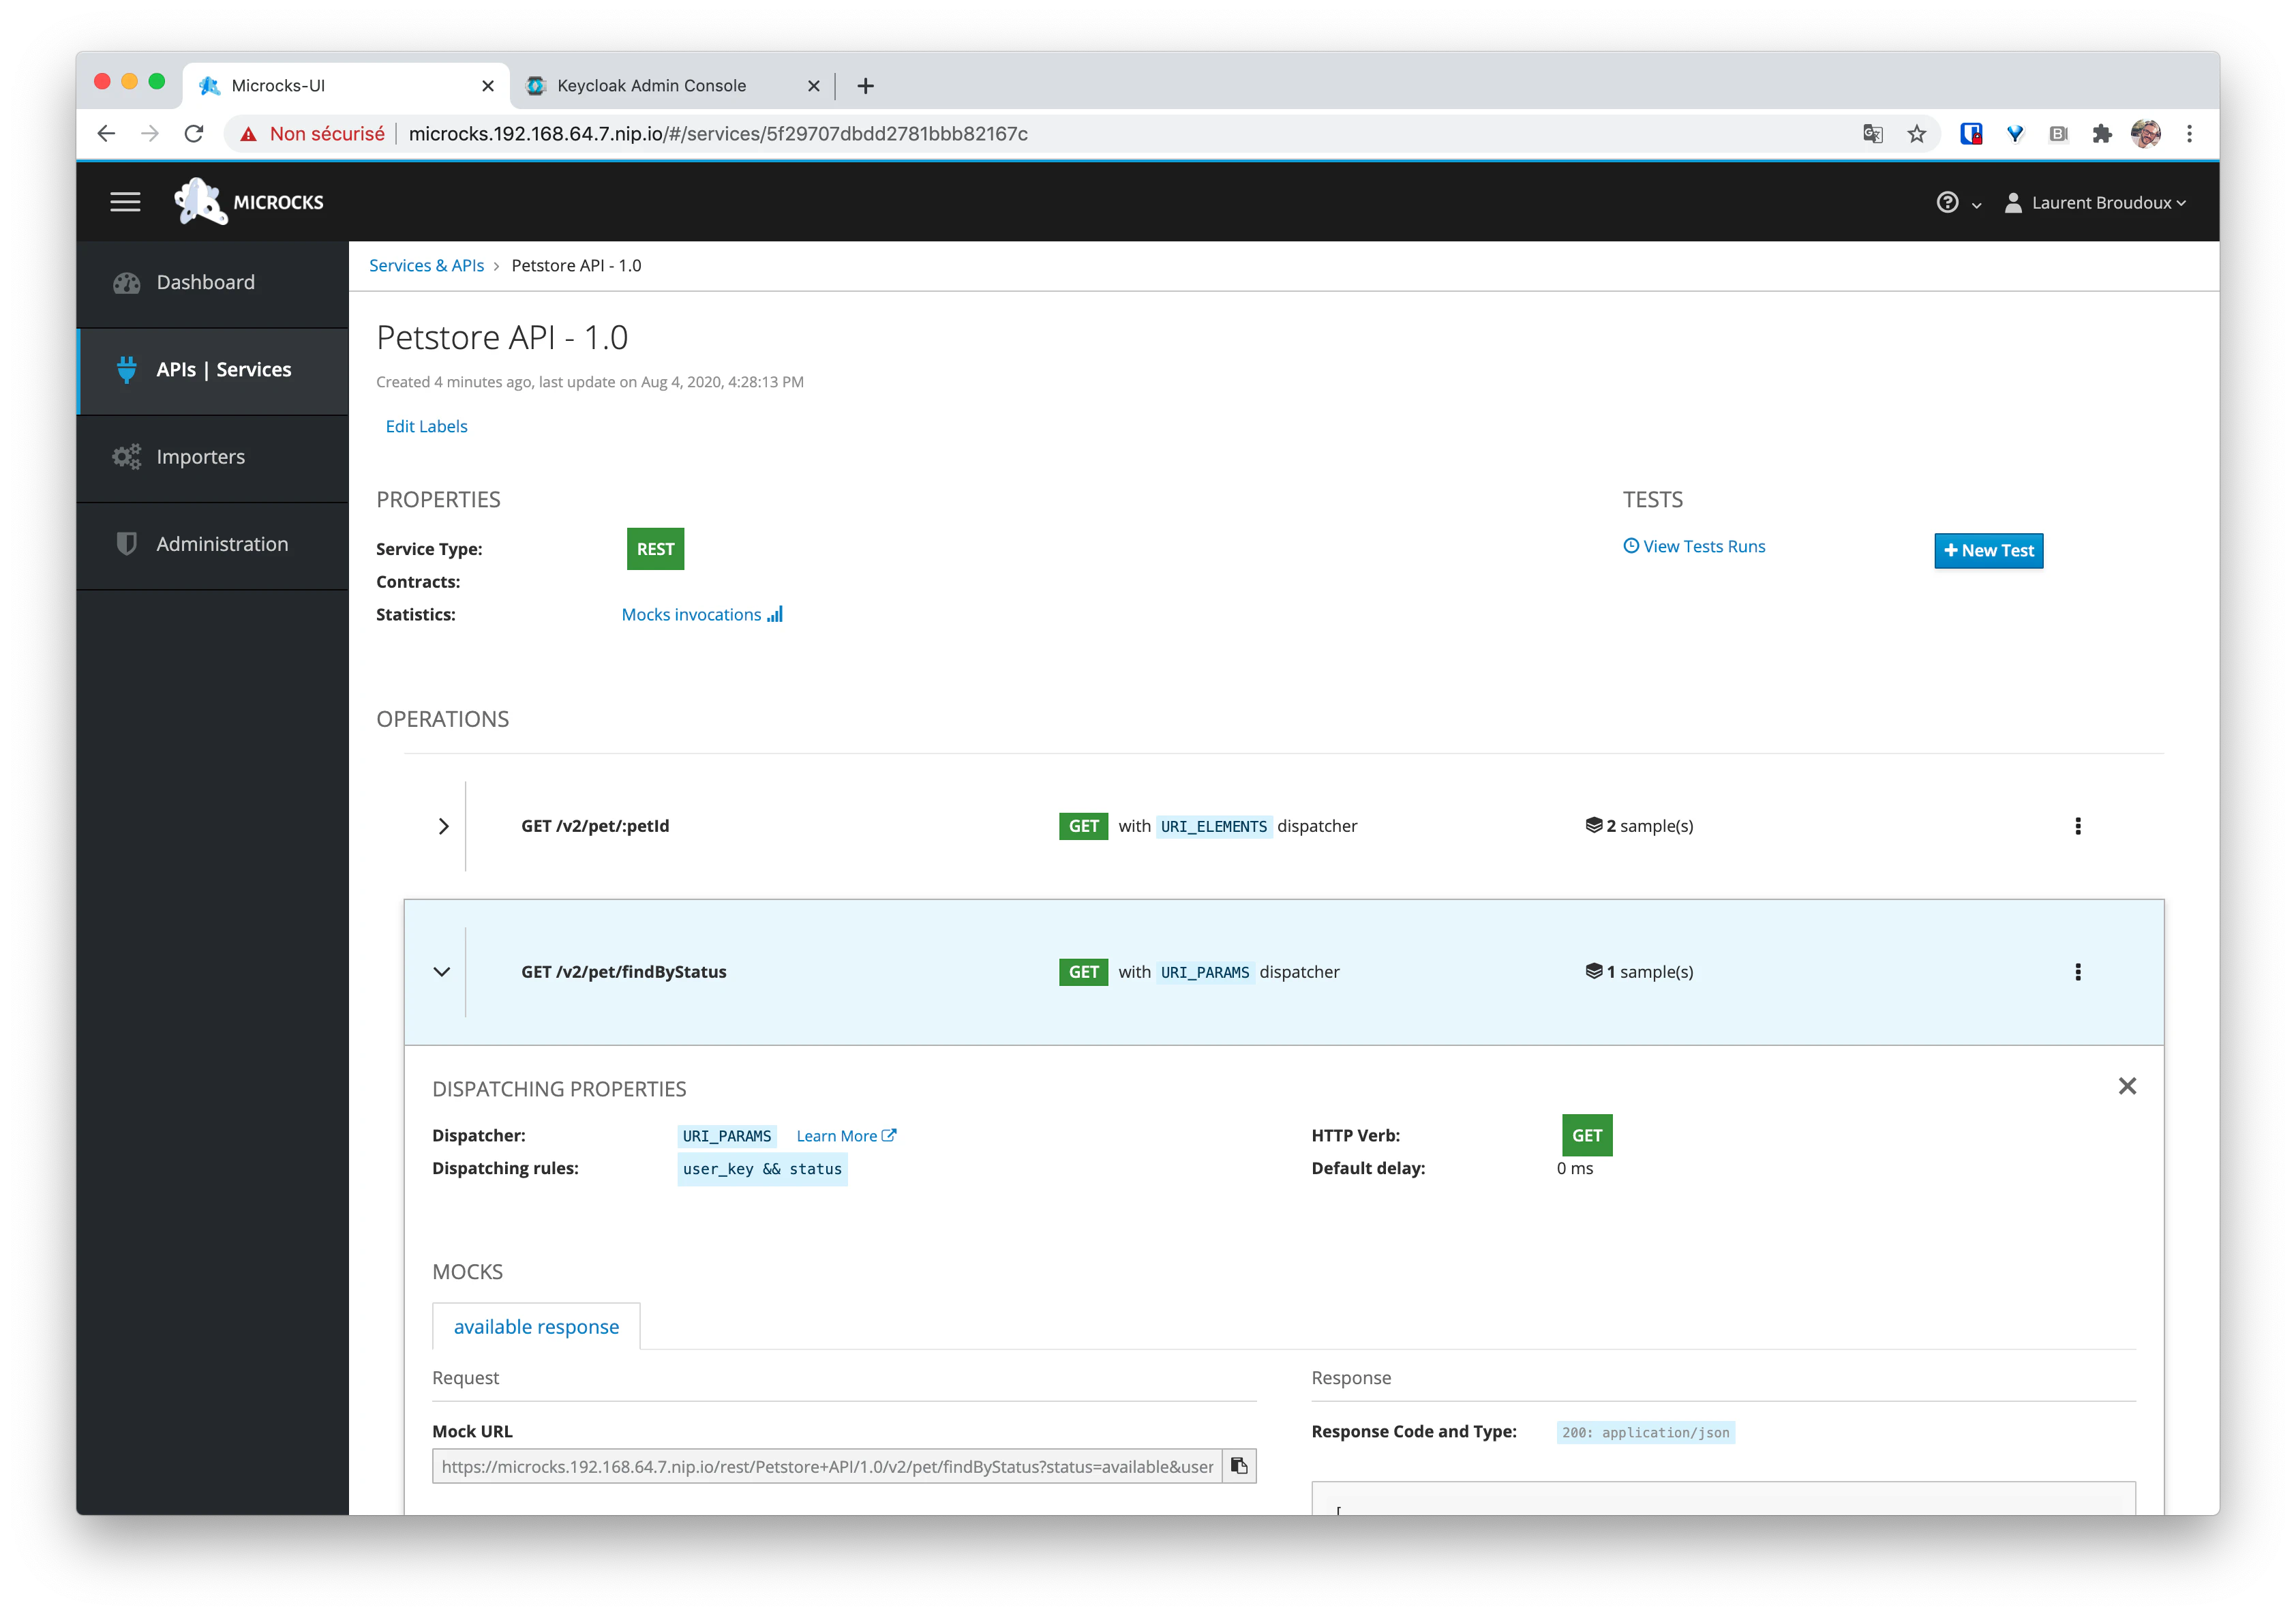
Using this URL, you can call the exposed mock for Petstore API using the following curl command:
$ curl "http://microcks.192.168.64.7.nip.io/rest/Petstore+API/1.0/pet/findByStatus?status=available&user_key=70f735676ec46351c6699c4bb767878a"
And you should receive the following response:
[{"id":190192062,"category":{"id":0,"name":"string"},"name":"doggie","photoUrls":["string"],"tags":[{"id":0,"name":"string"}],"status":"available"},{"id":190192063,"category":{"id":0,"name":"string"},"name":"doggie","photoUrls":["string"],"tags":[{"id":0,"name":"string"}],"status":"available"},{"id":190192285,"category":{"id":0,"name":"string"},"name":"doggie","photoUrls":["string"],"tags":[{"id":0,"name":"string"}],"status":"available"},{"id":190192654,"category":{"id":0,"name":"string"},"name":"doggie","photoUrls":["string"],"tags":[{"id":0,"name":"string"}],"status":"available"},{"id":190192671,"category":{"id":0,"name":"string"},"name":"doggie","photoUrls":["string"],"tags":[{"id":0,"name":"string"}],"status":"available"},{"id":190192727,"category":{"id":0,"name":"string"},"name":"doggie","photoUrls":["string"],"tags":[{"id":0,"name":"string"}],"status":"available"},{"id":190192736,"category":{"id":0,"name":"string"},"name":"doggie","photoUrls":["string"],"tags":[{"id":0,"name":"string"}],"status":"available"},{"id":190192768,"category":{"id":0,"name":"string"},"name":"doggie","photoUrls":["string"],"tags":[{"id":0,"name":"string"}],"status":"available"},{"id":190192878,"category":{"id":0,"name":"string"},"name":"doggie","photoUrls":["string"],"tags":[{"id":0,"name":"string"}],"status":"available"},{"id":190192907,"category":{"id":0,"name":"string"},"name":"doggie","photoUrls":["string"],"tags":[{"id":0,"name":"string"}],"status":"available"},{"id":190193000,"category":{"id":0,"name":"string"},"name":"doggie","photoUrls":["string"],"tags":[{"id":0,"name":"string"}],"status":"available"},{"id":-98125093,"category":{"id":-517488397,"name":"EJvNbK"},"name":"LuEfMZATrHz","photoUrls":["XCXOVVkaxa","gNwYqHEmC","nvCvphDeuqztysUBNed","W","vmrxRIViyXqumolLIeoB","JRqHVxk","tCUGbegVHoXajm","UiHppQn"],"tags":[{"id":727599428,"name":"RemggEDzxPljbrlktdWf"},{"id":1987753751,"name":"zWqdKAGHMmhPPlomljaNtuvm"},{"id":1251632392,"name":"BAgtgtKOxZGdsS"},{"id":-1813025208,"name":"OkKxtfAkCMEICbbQDVPi"},{"id":-730110346,"name":"WshDF"},{"id":2100951153,"name":"yxUFSknQEleIAQCoocl"},{"id":-2135188117,"name":"M"},{"id":1352243140,"name":"koKHsjysHXW"},{"id":1696778814,"name":"KaihiyarcZkIzkkquWPZ"},{"id":659492963,"name":"xqIzulcBPzWMyUpQwQK"},{"id":-2118372841,"name":"naYFGuHmqDqOpfHH"}],"status":"available"},{"id":8739826599258110549,"category":{"id":0,"name":"string"},"name":"doggie","photoUrls":["string"],"tags":[{"id":0,"name":"string"}],"status":"available"}]
Ta Dam!
Installing Microcks
If you require a more complex installation, Microcks may be installed in many ways depending your preferred environment. Basically, it can be installed on Kubernetes, on OpenShift, using Docker-Compose or directly using binary and source of Microcks.
Installing with Kubernetes Operator
We provide an Operator that is distributed through OperatorHub.io for easy install and management of Microcks as a Kubernetes-native application.
Have a look on this page for more information.
Installing on Kubernetes with Helm
We provide a Helm 3 Chart for using with Helm
Packet Manager. This is definitely the preferred way of installing apps on Kubernetes.
Have a look on this page for more information.
Installing using Docker Compose
Docker Compose is really easy for a laptop or single demonstration server. You’ll find instructions on how to use Docker Compose for installation here .
What’s next?
Now that you have basic information on how to setup and use Microcks, you can go further with:
- Continuing your tour with Getting started with Tests ,
- Enabling the Asynchronous related features on Docker-Compose ,
- Understanding how Microcks compares with alternatives ,
- Creating your definition files using OpenAPI , AsyncAPI , SoapUI , Postman or GRPC ,
- Using exposed mocks and using variables,
- Executing your tests on endpoints where your services and API are deployed,
- Using advanced features of Microcks and admin stuff.

Still Didn’t Find Your Answer?
Join our community and get the help you need. Engage with other members, ask questions, and share knowledge to resolve your queries and expand your understanding.
Join the community